What a Seated iSUP Setup Includes
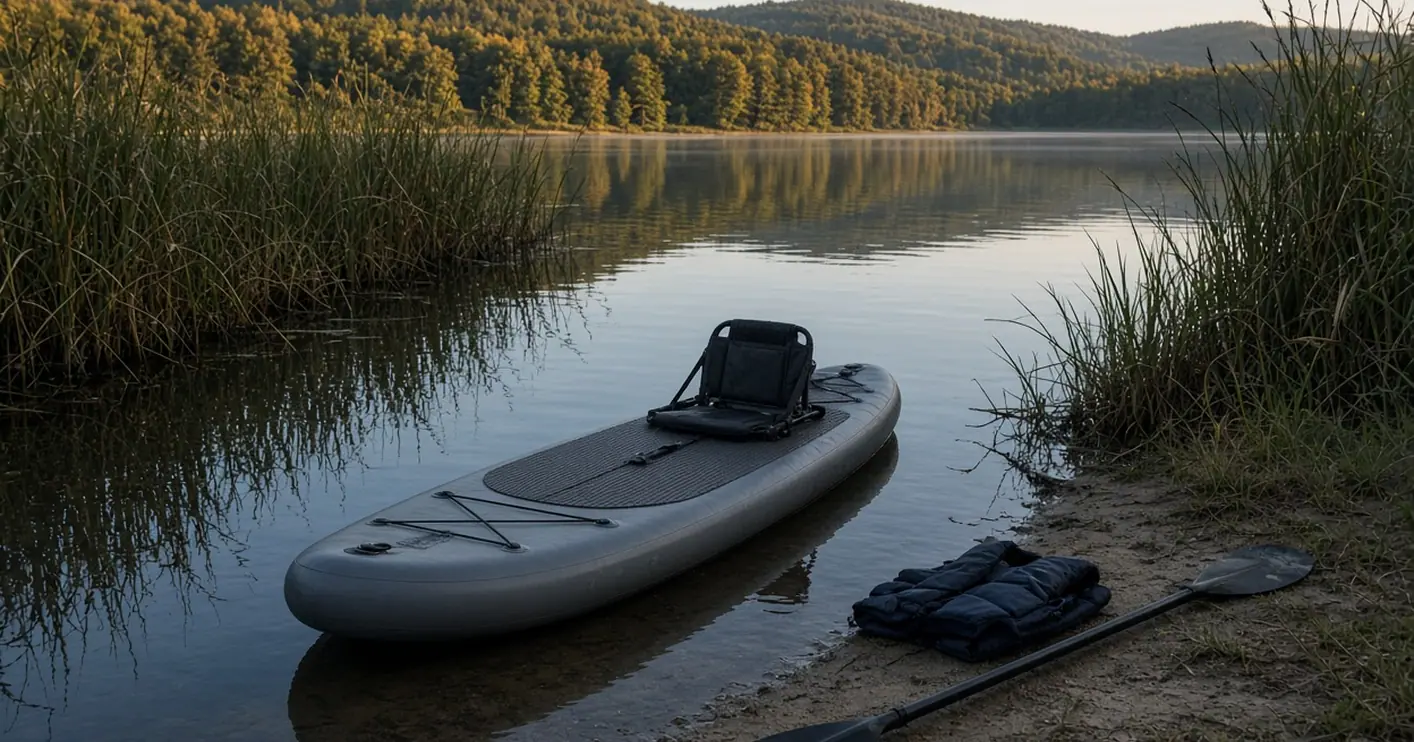
A seated conversion turns an inflatable paddleboard into a sit-on-top touring or SUP fishing craft by combining three coordinated pieces of gear: a compatible clip-on seat, a removable foot support, and a double-bladed paddle. Instead of balancing from a standing stance, the paddler operates from a low, supported position on the deck pad. This shift changes how propulsion forces move through the board.
Two contact points govern paddling mechanics and seated fit. The tensioned backrest supports upright posture and absorbs rearward push, while the footbrace provides a firm forward surface against which the feet press during each stroke. Without both points working together, energy leaks into sliding across the deck rather than moving the hull forward. Meanwhile, a double-bladed paddle allows smooth alternating strokes from side to side without lifting and transferring a single blade across the beam.
Building a reliable seated rig follows a strict sequence before leaving shore. A paddler must verify hardware compatibility against the board's manual, tension the seat straps evenly on dry land, coordinate the footbrace distance, match paddle geometry to the hull's width, and validate trim in calm shallow water.
Check the Board’s Attachment Points Before Choosing a Seat
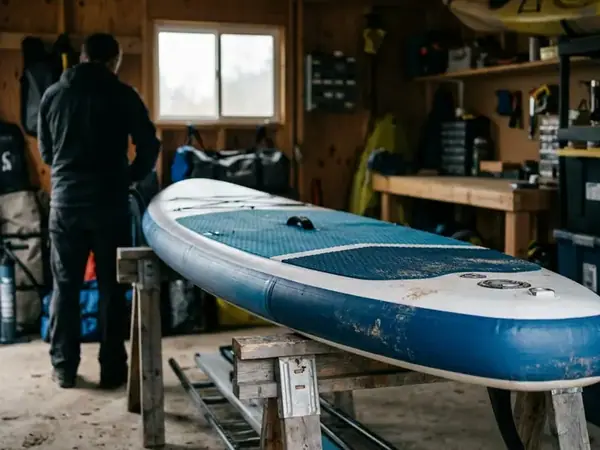
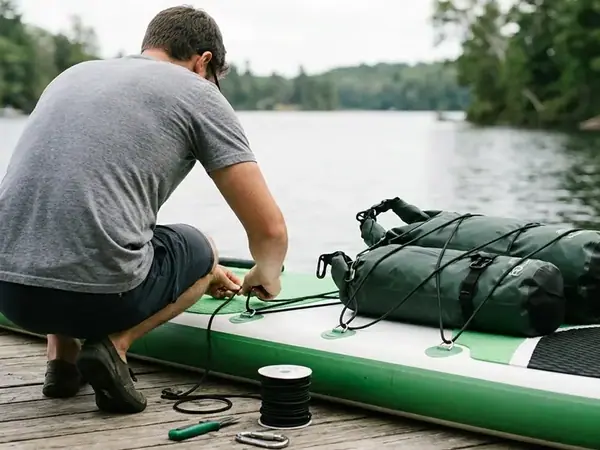
Look closely at the forward and mid-deck stainless steel rings glued to an inflatable hull. A metal D-ring's appearance never establishes that its patch and adhesive bond are rated for the sustained leveraged pull of a leaning paddler; a D-ring meant to hold light deck luggage under bungee cord tension occupies a completely different structural category than a designated seat anchor. This conversion applies only to boards whose manufacturer explicitly supports a clip-on seat and footbrace arrangement in the owner's manual.
Start the rigging check with the board's documentation as a purchasing filter. Identify which specific rings are approved for seat loads, review the recommended inflation pressure for seated rigidity, and verify the stated weight capacity. When calculating total load, account for the paddler, the seat, the footbrace, carried gear, and all mandatory safety equipment.
Once the board's anchor layout is confirmed, match the seat's strap arrangement—whether a two-strap or four-strap design—directly to those designated points. Hardware compatibility comes down to physical fit and functional details:
- Gate Clearance: Each snap hook or clip must fit cleanly around the metal ring so the spring gate closes completely without binding or requiring force.
- Corrosion-Resistant Hardware: Brass, stainless steel, or marine-grade polymer clips resist seizing after exposure to grit and brackish water.
- Base Traction: A textured underside on the seat cushion grips the EVA deck pad instead of skating across wet foam.
- Seated Buckle Reach: Adjustment buckles must sit where a seated paddler can easily reach and tweak them, rather than feeling accessible only while standing beside the board.
- Backrest Stiffness: Internal vertical stays or high-density foam prevent the upper back panel from folding backward when the paddler leans in.
Anchor Load Boundaries
Treat cargo rings strictly as tie-downs for dry bags. Connecting backrest straps to unapproved forward bungee rings can peel PVC patches under opposing strap tension.
Clip In the Seat and Balance the Strap Tension
Why do many clip-on seats sag backward or twist sideways within minutes of launching? The trouble usually starts during shore assembly when straps are pulled tight one side at a time or while the board is resting on its tracking fin. Setting up on a flat, nonabrasive shoreline surface keeps the hull true and protects the fin box from body-weight stress before the board ever touches water.
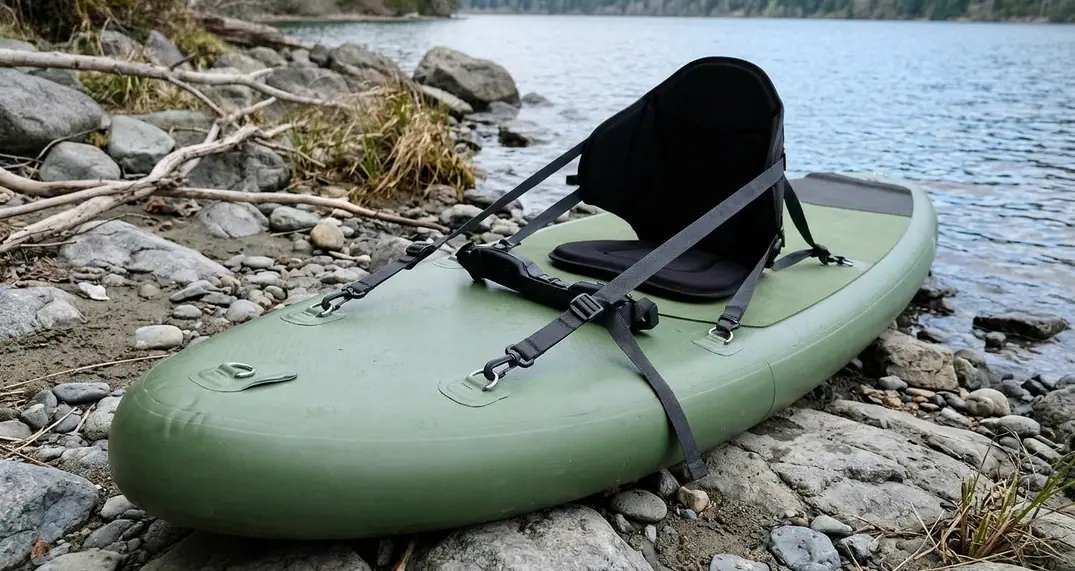
Follow these numbered steps on land to establish balanced geometry:
- Inflate to Spec: Use the board's hand or electric pump and pressure gauge to bring the chamber up to the manufacturer's recommended operating pressure. A soft hull flexes under seated weight, which immediately slackens the seat straps.
- Inspect Hardware and Webbing: Check the approved D-ring patches for lifting edges, and examine the seat's webbing, stitching, and clip gates for wear or sand buildup. Ensure the tracking fin is removed or overhanging a soft drop-off according to the fin system's instructions so dry-fit weight never loads the fin.
- Set the Initial Reference: Place the seat base squarely over the central standing area near the carry handle. Final fore-and-aft placement will depend on paddler weight and where dry bags or coolers sit on the deck, so treat the center handle as a starting mark.
- Clip In Systematically: Connect the upper forward straps and lower rear straps to their designated rings according to the board and seat instructions. Visually verify that every clip gate snaps shut completely.
- Tension Opposing Pairs: Remove any twists from the flat webbing. Take up slack in small increments across opposing straps—left then right, front then back—watching that the seat base remains centered and square to the board's stringer line.
- Dry-Fit and Check Gate Security: Sit on the pad with legs extended and press gently into the backrest. Adjust the upright angle using the side buckles until posture feels supported without pulling so hard that the seat base lifts off the deck or distorts the D-ring patches. Re-verify that all clip gates remain closed under load, and tuck loose strap tails cleanly away from the footwell and paddle path.
Set a Footbrace That Supports Your Feet Without Trapping Them
A seated stroke begins at the soles of the feet. When a blade catches the water, that pull transfers through the core and down the legs into the deck; without a solid stop, the lower body slides forward and robs the stroke of power. A dedicated board-compatible removable footbrace gives the heels and balls of the feet a stable bracing bar while preserving a clean, open cockpit for safety.
Install the footbrace exclusively through its intended mounting points on the board, keeping every adjustment within the accessory manual's instructions. Never drill, puncture, or wedge improvised hard plastic or wood fittings against an inflatable chamber, as concentrated point loads can abrade the drop-stitch skin.
Coordinate the footbrace position only after sitting against the tensioned backrest. Adjust the brace and seat together so the paddler sits upright with both knees comfortably bent and both feet resting squarely against the bar. Avoid leaving the support so far forward that the knees lock out, or so close that the thighs cramp toward the chest.
Once the distance feels natural, run a physical release and pressure check on shore:
- Immediate Foot Clearance: Lift the left foot cleanly away from the brace, then the right, then both feet together. The support must never enclose the feet; verify that no bungee cords, loose webbing tails, or loops can snag a water shoe during an unexpected capsize.
- Firm Push Test: Press both feet firmly against the bar as if driving through a hard headwind stroke. Watch the footbrace mountings for distortion or sliding, and check whether the opposing push causes the seat base behind you to creep forward across the deck pad.
Choose a Double-Bladed Paddle for the Board’s Width
Dropping from a standing posture to the deck pad lowers the paddler's shoulders right down near the waterline, while the wide beam of an inflatable board keeps the side rails relatively far from the centerline. A single-bladed SUP paddle forces awkward cross-body recoveries from this low angle, whereas switching to a double-bladed kayak-style paddle allows balanced, alternating strokes on either side of the hull.
Many paddlers adapt a modular convertible paddle by swapping the top T-grip for a second blade attachment. When rigging a convertible shaft, confirm that the extra blade belongs to the exact same manufacturer system and that every push-pin, collar, and ferrule joint is fully engaged and locked before walking to the water.
Rather than shopping for a universal shaft length chart, evaluate paddle fit through an observable on-water reach test. Because seated torso height, arm reach, and hull width interact differently on every setup, the true test is how the blades clear the rails during a relaxed stroke. With modest torso rotation and a comfortable grip width, each blade should enter the water fully submerged alongside the board without the shaft repeatedly banging the inflated rail or forcing the paddler to lean sideways off the seat center.
Test Seat Security, Trim and Tracking Close to Shore
How can you tell whether your dry-land strap geometry holds up under real water resistance? Take the rigged board to sheltered, calm water that offers an easy, obstacle-free landing and a direct return route. Before stepping in, put on a properly fitted personal flotation device and inspect the tracking fin's locking pin or screw to confirm it is tight; a loose or missing fin mimics poor seat balance by letting the tail wander.
Choose a leash arrangement suited to the specific water environment and local safety rules. Moving water introduces severe entanglement hazards where a standard flatwater ankle or calf leash can trap a paddler against pilings, strainer branches, or rocks; anyone paddling in current should get environment-specific instruction on quick-release waist systems or leash omissions before launching. Keep the working deck clear of clutter and secure essential items away from the cockpit.
Walk the board out until the water depth keeps the tracking fin completely clear of the bottom, then settle onto the seat and check bow-to-stern trim. The hull should float approximately level fore and aft with the paddler seated and intended gear aboard; having a companion watch the waterline from shore makes it easy to spot a nose-heavy or tail-dragging stance. Once settled, paddle a short out-and-back test loop parallel to shore that includes gentle alternating strokes, a controlled wide turn, and a complete stop.
Isolate any handling quirks by matching the symptom on the water to its mechanical cause back on the beach:
- Seat Base Shifting: Land and re-inspect clip gate closure, approved ring selection, webbing twists, uneven strap slack, and base friction against the deck pad.
- Rail Strikes or Overreaching: Review paddle shaft connections, hand spacing, and blade reach relative to the board's width.
- Bow Plowing or Stern Drag: Adjust the fore-and-aft placement of carried gear or shift the seat and footbrace assembly slightly toward the center reference.
- Yawing Off Course: Verify balanced stroke effort on both sides and check fin security before moving the seat position.
Always return to shore and step off the board before loosening straps or shifting the footbrace, then repeat the exact same test circuit after each tweak. Before heading out on a longer tour, practice exiting and remounting the seated board in calm, chest-deep water with a partner nearby so the motions are familiar.
Work Through a Seat That Slides on the First Test
During your first short test loop parallel to the beach, you take ten alternating strokes, press your heels into the footbrace to execute a controlled stop, and feel the seat cushion slide two inches forward under your hips. As the base creeps toward the bow, the upper backrest straps go slack and the backrest collapses backward. Rather than reaching back to yank the buckles while afloat, you take a few light strokes and return directly to the easy shoreline landing.
Once the board is resting in shallow water with the fin clear of the sand, you step off and run a structured inspection before touching the footbrace:
- Isolate the Seat Anchors First: You check all four clips and confirm they are hooked to the board's approved seat D-rings rather than the forward cargo rings, with every spring gate fully closed. Looking down the webbing, you spot a half-twist in the lower left rear strap that kept it from tightening evenly against the right side, along with sand trapped beneath the seat base that reduced friction against the wet EVA deck pad.
- Reset and Re-Tension on Shore: You rinse the sand off the deck pad and seat underside, move the seat base back to the center reference mark, take the twist out of the lower left webbing, and pull slack out of the opposing rear straps in small, equal increments while the footbrace stays at its original setting. Sitting on the board on shore, you press your shoulders into the backrest and confirm the base stays planted and square.
- Retest the Exact Water Circuit: Launching onto the same calm loop, you paddle out, execute your turn, and brace your feet for a stop. The seat base now holds firm against the deck pad, though you notice your knees are nearly straight when pushing hard against the bar.
- Coordinate the Footbrace Second: You return to the beach, leave the corrected seat straps untouched, and slide the removable footbrace slightly closer toward the seat through its mounting tracks so your knees keep a comfortable bend from an upright posture. After verifying that both feet lift cleanly away from the bar without snagging any strap tails, you repeat the out-and-back water test—confirming steady trim, crisp tracking, and zero seat creep before continuing down the shoreline.