Securing Tackle Without Compromising the Inflatable Hull
A poorly mounted rod holder introduces immediate risks on the water. It can puncture the board, peel away under the leverage of a strike, obstruct the paddle stroke, or put hooks exactly where the angler kneels to land a fish. The opening check for any installation covers three distinct contact paths. You must verify the holder-to-board attachment, the paddle-to-rod clearance, and the paddler-to-hook clearance.
Treat attachment and reach as a single decision. First, identify what actually carries the load. This might be the board's factory fitting, a bonded base, or a rigid crate. Reject any position that puts a reel, rod butt, or hook inside the paddle, kneeling, or fish-landing zones. The goal is to select a compatible holder, mount it without drilling into an air chamber, and position it for your specific fishing style.
Rigging Geometry Takeaway
On an iSUP, the mounting surface and placement geometry matter as much as the holder itself.
Matching the Mount to the Leverage Profile
Classify holders by the part that resists leverage rather than by the product label. A molded socket transfers load into a prepared base. A clamp relies on the stiffness and grip of its host structure. A track fitting spreads adjustment through a compatible rail and slider. Break the rig into three load paths: inflatable skin to mounting base, mounting base to holder, and holder to rod under sideways leverage.
A conventional through-deck flush mount requires a cutout and fasteners beneath the deck. It must never be installed through an inflatable air chamber. These true through-deck flush mounts offer a low profile and fixed position, but they depend entirely on access below a rigid deck or on a factory-provided iSUP socket. If your inflatable lacks this specific factory socket, a through-deck model is the wrong choice.
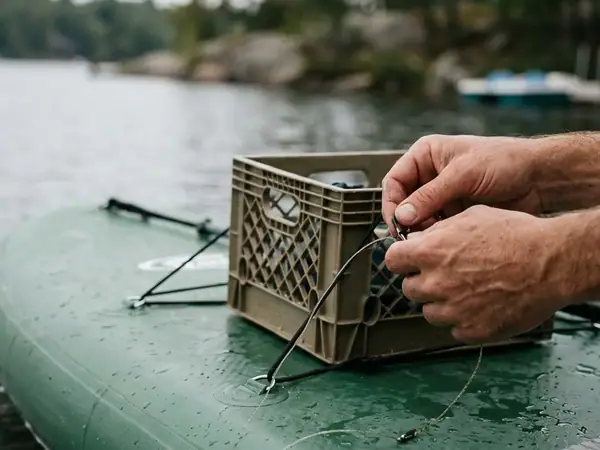
Clamp-on holders provide a removable and crate-friendly option. They attach securely to a fishing crate, rigid frame, or purpose-built rail. They remain vulnerable to rotation if the jaw grips a rounded, flexible, or undersized member. Never attach a clamp indiscriminately to a soft inflatable sidewall. Track holders offer excellent angle adjustability and are easily removable. They remain unusable without a factory track or a correctly bonded track base.
Establishing Clearances Through Dry Rehearsal
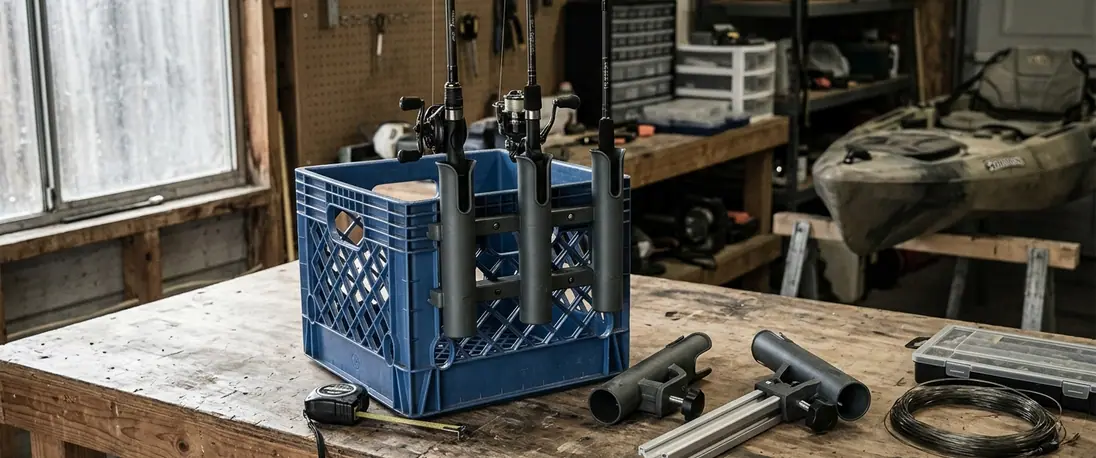
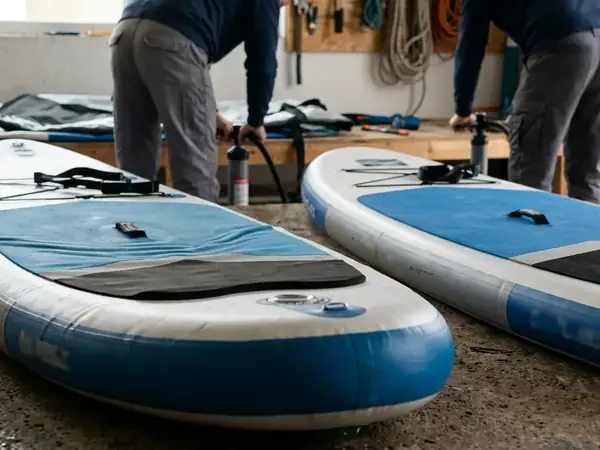
How do you find the exact spot for a rod holder before committing to adhesive or hardware? The process requires a dry layout using the inflated board, paddle, crate, rods, and your normal fishing stance. Inflate the board to its labeled operating pressure. Load the crate and normal fishing gear. Place painter's tape around candidate bases without applying adhesive.
Allow approximately 15 to 20 minutes for the dry layout. Use the exact paddle length, crate position, footwear, and rod lengths intended for fishing. Draw three no-conflict zones on the inflated board before mounting: the paddle-blade corridor, the sit-kneel-stand footprint, and the open fish-landing rail. Move the taped footprint whenever one action requires stepping over tackle.
Perform at least two forward, two reverse, and two full sweep strokes on each side. Check both left- and right-hand paddle changes. Mark the full paddle-blade path on both sides and leave clearance for switching hands, reverse strokes, and bracing. Test access to the inflation valve, center and end handles, bungee attachment points, and removable-fin area before accepting the layout. Protect the standing and kneeling zone so rod butts, reels, and hooks do not occupy the space needed for balance.
Executing the Installation on a Flexible Deck
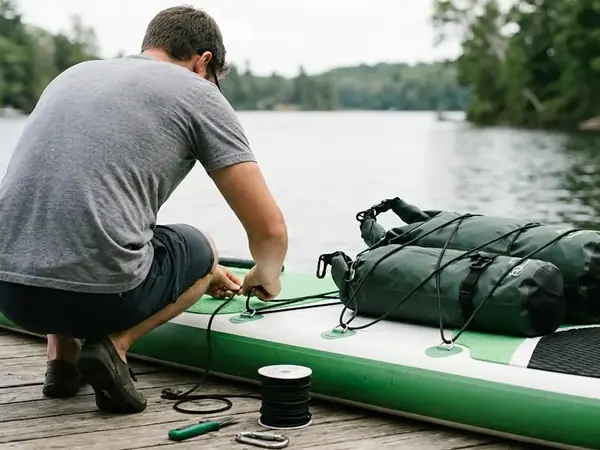
Start with the board manual and the mount's attachment specification. Match the base to the available factory insert, track, bonded pad, or rigid crate. For an insert or track, clean the mating parts and inspect the threads and track hardware. Start threads squarely. Seat the base flat and tighten in small increments until hand pressure no longer shifts it. Avoid crushing or deforming the components.
Bonding a pad or track requires a controlled sequence. Choose a flat, low-flex area and trace the base. Prepare the surface exactly as directed. Apply the specified adhesive, press the full base evenly, and allow the stated cure conditions before loading it. Bond with the board deflated, partly inflated, or fully inflated only in the condition specified by the board and adhesive instructions. Changing that condition can alter the pad footprint as the skin moves.
After mounting, run a bare hand around the complete base perimeter. Feel for lifted edges, protruding fasteners, hard corners, or reel contact with the board skin. For a crate clamp, load an unhooked rod and pull sideways, upward, and aft. The clamp must not rotate toward the standing area.
Orienting Rods for Transit, Trolling, and Casting
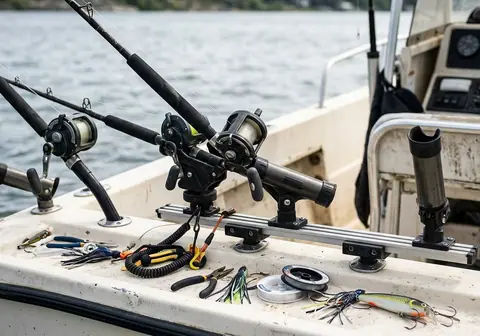
Assign each holder a specific job before choosing its angle. Transport rods belong upright or slightly aft behind the working stance. Keep the tips clear of the paddler's head and the paddle arc. A trolling rod points outward or rearward. This angle separates the line from the board while keeping the holder reachable without a sudden turn or deep lean.
Keep the working rod out of the holder during active casting. Preserve an unobstructed casting side and reserve holders for spare rods and temporary storage. Keep one continuous landing route open from waterline to deck for the net, leader, and fish. The planned landing rail must remain free from racks, line, and rod tips.
Rehearse retrieving a trolling rod with knees soft and both feet planted. Reposition the holder if the reach requires crossing the feet, rotating past the hips, or leaning over the rail. Evaluate stern trim with the complete load aboard, including crate, anchor, battery, rods, and water. Do not judge trim with empty holders alone. If stern gear causes the tail to ride visibly lower, adjust the weight distribution forward. These placement checks address ordinary recreational SUP fishing; a layout proven on calm, shallow water is not thereby validated for surf launches, strong current, whitewater, or exposed crossings.
Validating the Setup Under Simulated Force
What happens when a strike hits a newly mounted holder or a paddle accidentally strikes a rod butt? Test the completed setup on land first with an unhooked rod. Spend around 5 to 10 minutes on the land test. Pull the rod in the directions produced by a strike, trolling drag, paddle contact, and a hurried grab. Rotate adjustable joints through their intended range.
Move the paddle through full forward, reverse, and sweep strokes. Find any reel handles, rod butts, or tips that enter the stroke path. Follow with a calm, shallow-water session near shore. Complete the first water check close enough to step off or return to shore without relying on the holder. Repeat every reach while sitting, kneeling, and standing before carrying exposed hooks.
Inspect the installation immediately after the first outing. Check again before later launches for pad-edge lift, clamp rotation, slider movement, corrosion, and loose hardware. Cap lures or secure hooks to a keeper during transport. Route rod leashes outside the foot area so a paddler can step off without entering a tether loop.
The Pre-Launch Rigging Verification
Use the same launch sequence each time you hit the water. Grip the attachment, swing the paddle through its path, clear the standing area, trace the landing side, and inspect every hook. The launch check has five points: secure attachment, clear paddle path, clear standing and kneeling space, open landing side, and protected hooks.
When testing a different angle or location, alter only that one variable. This ensures any new paddle strike, awkward reach, or change in trim has an identifiable cause. A holder fails the reach check if retrieving the rod requires stepping across tackle, turning away from the direction of travel, or making a deep rail-side lean. The best installation is not the one carrying the most rods. It is the one the paddler can reach without twisting, stepping over tackle, or striking the paddle. On an iSUP, every rod holder depends on a flexible, air-filled deck—not a rigid hull.