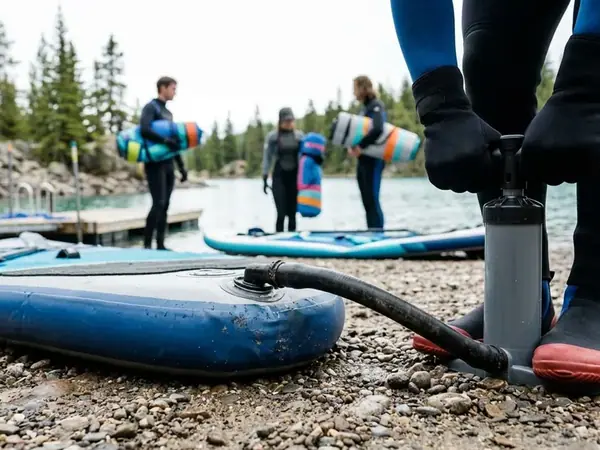
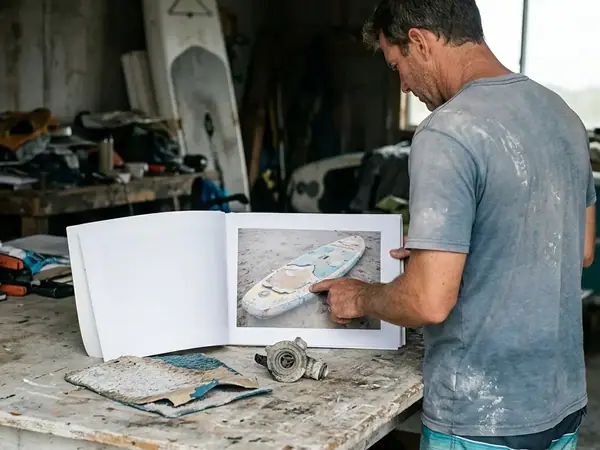
In this Article
- Check the Deck Pad Before Calling the Board Dry
- Build a Clean Packdown Area Before Deflating
- Spend Scarce Fresh Water on Grit-Trapping Accessories
- Towel the Board, Then Expose the Places Water Hides
- Roll Around Fin Boxes Instead of Creasing Through Them
- Pack the Bag in the Order You Will Unload It
- Reopen a Damp Travel Pack at the Next Stop
- Choose a Travel Pack or a Storage-Ready Pack
Check the Deck Pad Before Calling the Board Dry
An iSUP’s textured deck pad can remain damp after its smooth underside feels dry. During multi-stop SUP trips, a paddler often steps off a sandy landing with limited fresh water in the vehicle and another launch scheduled down the road. Evaluating board care by running a hand across the bare PVC hull misreads the actual moisture state of the equipment, because water clings inside embossed EVA foam grooves, woven carry handles, and recessed hardware long after exposed drop-stitch skin sheds its surface droplets.
Moving from water to road under tight time constraints requires an efficient routine. An under-20-minute packdown serves as a practical workflow goal for organizing rinsing, blotting, and loading at a trailhead, rather than a tested completion time or a guarantee that the board will dry in every climate. Ambient humidity, wind exposure, and foam density dictate evaporation rates regardless of how briskly a paddler works.
Moisture condition sets the boundary between two distinct packing outcomes. A temporary transport pack simply contains the inflatable paddleboard and its accessories and rigging safely until the next unpacking opportunity. A storage-ready pack requires a dry board, dry accessories packed alongside it, and a completely dry bag interior. Closing a damp board inside its travel backpack does not prevent mildew, nor does a neatly zipped bag mean the packdown job is finished.
Build a Clean Packdown Area Before Deflating
Why keep the board fully inflated while setting up the cleaning zone? A pressurized hull holds its rigidity, allowing a single paddler to lift, tilt, and inspect the craft without floppy rails dragging across beach sand or parking lot gravel. Once air leaves the chamber, the softening skin droops and collects ground debris across every tacky crease.
Start by laying out a clean groundsheet in a shaded spot free of sharp stones. Keep the board off hot pavement, carry it by the handles rather than dragging the tail, and never rest an inflated board on its fin. Place the open travel bag and hand pump well away from the immediate rinse zone so windblown sand and splash runoff cannot settle into the backpack fabric or pump intake.
- Stage the clean groundsheet, a measured fresh-water container, a soft cleaning cloth, an absorbent drying towel, and a separate waterproof bin or drybag dedicated to wet accessories.
- Detach the ankle or calf leash and unclip any loose deck bags, rod holders, or action-camera mounts used for SUP fishing or touring.
- Unlock and remove the removable center fin and any side bite fins, setting their locking pins or screws directly into their protective pouch before flipping the board underside-down onto the groundsheet to work on the deck.
- Verify that the inflation valve remains capped and closed throughout the entire washing phase so neither water nor dislodged grit enters the internal drop-stitch chamber.
- Inspect the empty fin box slot, D-ring patches, deck-pad perimeter edges, and the interior lining of the travel bag for trapped sand or obvious abrasion before introducing water.
This sequence establishes a general travel workflow for field transitions. Always consult the board maker's instructions for permitted cleaning agents, specific valve operation, and the required folding pattern for that model.
Spend Scarce Fresh Water on Grit-Trapping Accessories
Rubbing a dry towel directly over a sandy hull turns beach quartz into sandpaper, scratching PVC coatings and grinding fine particles deeper into seam edges. When operating out of a vehicle with a single jug of fresh water, every pour must lift contamination away from moving parts and high-friction zones before any wiping happens.
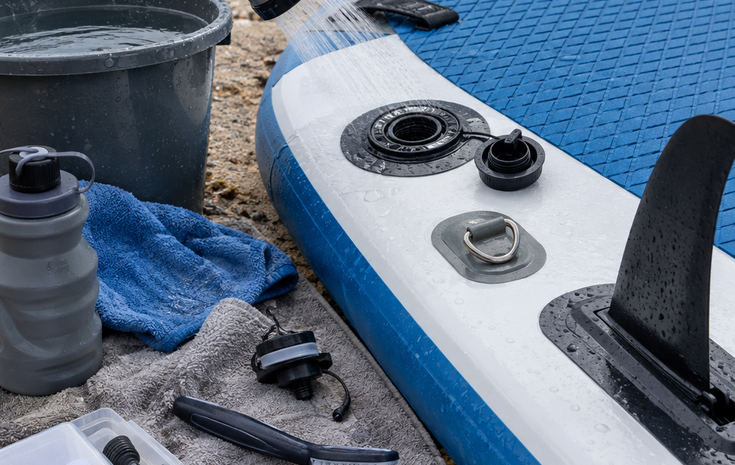
Begin with a gentle pour or a fully saturated soft cloth to float loose grit off the surface. Direct that scarce water supply toward the components that jam or chafe when packed dirty: the detached fin base, the interior channels of the fin box, leash attachment loops, fabric carry handles, the raised step at the deck-pad edge, adjustable paddle joints, and any threaded accessory mounts. Flush sand away from the recessed rim surrounding the closed inflation valve without unsealing the cap.
Work across the board using a controlled pour-and-wipe sequence. Wet a compact section, lift the loosened contamination with a clean face of the soft cloth, and rinse the cloth in a separate catch basin or with a quick splash before touching the next panel. Refold or swap out any cloth that continues to carry grit so you do not redeposit sand down the rail. Keep this sand-collecting cloth isolated in the wet-gear container so nobody mistakes it for the clean drying towel.
Saltwater and Waterway Transfers
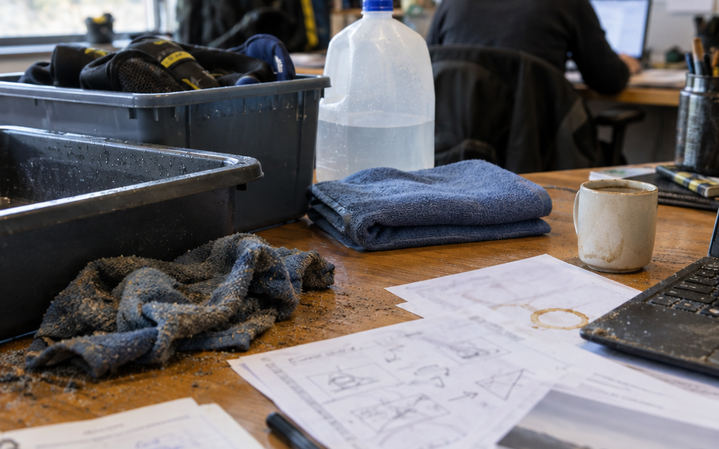
If a remote landing offers zero fresh water, gently brush away dry, loose debris once the skin dries in the shade and schedule a thorough freshwater rinse at the next suitable stop; rinsing with seawater leaves hygroscopic salt crystals behind that attract moisture inside the bag. Furthermore, distinguish routine grit and salt removal from aquatic invasive-species decontamination. Before launching on a different lake or river corridor, verify and complete that jurisdiction's mandatory equipment-cleaning, draining, and drying protocols rather than treating a trailhead wipe-down as biosecurity clearance.
Throughout the rinse, direct dirty runoff downwind and away from the staged travel backpack and pump hose. Where launch facilities provide designated washdown pads, use those stations and follow posted rinse-water disposal rules.
Towel the Board, Then Expose the Places Water Hides
Once the grit is gone, the clean absorbent towel comes out of the kit. Removing surface water follows a strict progression so gravity does the heavy work before the towel saturates.
- Tilt the rigid board on edge over the groundsheet to drain pooled water off the deck channels and out of the fin box cavity.
- Blot the broad, smooth PVC surfaces across the nose, rails, and hull.
- Press the towel gently into the textured diamond or crocodile grooves of the EVA deck pad and wrap it around the neoprene or webbing of the carry handles.
- Reposition the board on the clean groundsheet in the shade to expose both the deck and the underside to moving ambient air.
A towel removes accessible liquid water, yet it cannot extract all moisture retained inside closed-cell foam pores or heavy nylon webbing. The dry-underside/damp-pad split catches many traveling paddlers off guard. Relying on the dry sheen of the bottom skin leads to premature packing while the board's upper fittings remain waterlogged.
Inspect each moisture-trapping feature individually before touching the inflation valve:
- Bungee cord and strap undersides: Lift elastic cargo cords and compression straps to check the fabric strips pinned flat against the PVC beneath them.
- Carry handle webbing: Squeeze thick center and bow handles to see if water beads through the stitching.
- Deck-pad texture and cutouts: Run dry fingertips across deep traction grooves and stamped logos where capillary action holds water.
- Fin-box recesses: Peer inside the narrow slot and slide a corner of the towel through the track to catch hidden droplets.
- Folded fabric seams: Check D-ring tabs and leash loop folds where double-layered webbing takes longest to air out.
Rely solely on shade and ambient breeze during this air-exposure phase. Never apply hair dryers, vehicle cabin heaters, or prolonged direct midday sun to accelerate evaporation, and never leave an inflated board inside a hot vehicle. Keep the valve sealed while blotting and airing the hull; once the moisture check is complete, release the air on the clean groundsheet following the manufacturer's deflation procedure.
The under-20-minute goal describes a short-stop workflow, not a universal drying window: humidity, air movement, deck-pad construction, and starting wetness can leave hidden moisture after the smooth skin dries. That reality splits the final packdown into two paths. When the board, the accessories packed with it, and the bag interior are completely dry, proceed to a storage-ready dry pack. When dampness lingers in the pad or handles, isolate all wet accessories, execute a temporary transport pack, and pick the exact stop where the board will be unrolled next.
Roll Around Fin Boxes Instead of Creasing Through Them
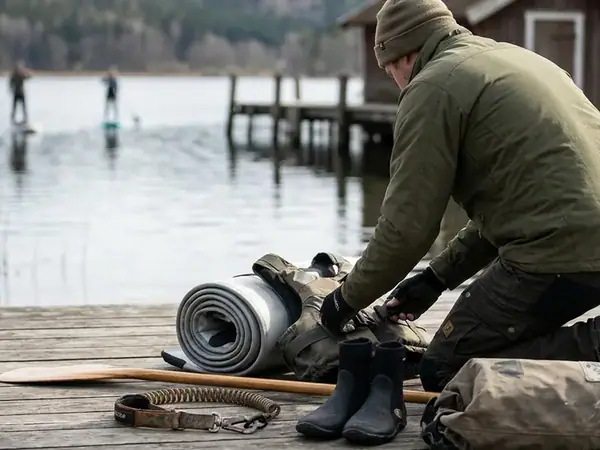
A deflated touring board at a windy boat ramp illustrates what happens when a paddler forces a hasty fold: kneeling directly onto a split fin box or an offset inflation valve to mash out trapped air stresses the glue bond between the rigid plastic housing and the flexible drop-stitch fabric. Over repeated road trips, sharp compression creases across hard hardware create weak points along the perimeter weld.
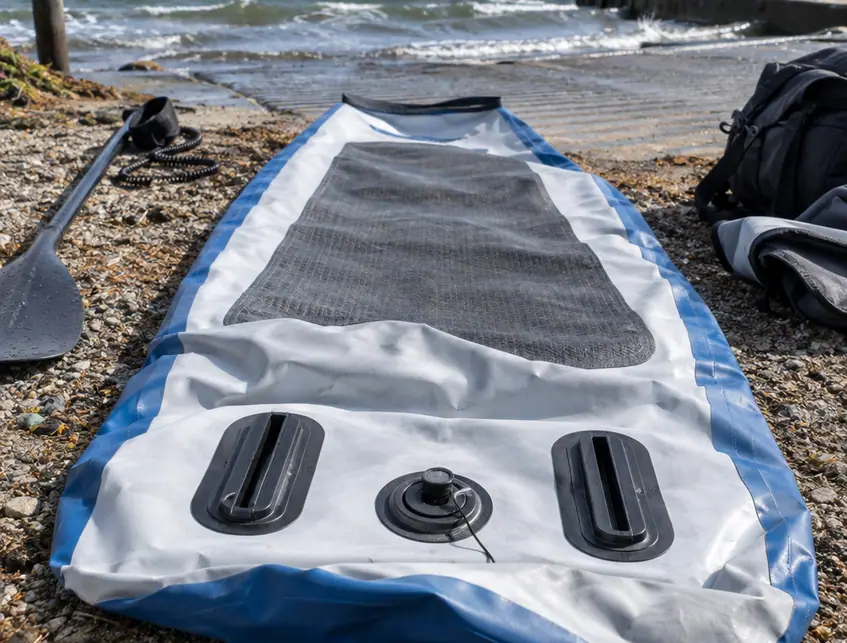
Consult the board maker's manual before choosing a nose-first or tail-first rolling direction, as valve placement and fin-box architecture dictate how air evacuates the chamber. After opening the valve—keeping its open stem shielded from blowing sand—begin making broad, controlled turns along the groundsheet. Adjust the width of each fold so rigid fin boxes, the valve assembly, and permanent accessory mounts sit flat on a straight span of the roll rather than bending around a tight apex.
Never force a stubborn pre-existing crease against hardware, and avoid grinding stray sand grains between overlapping hull layers. If a gust blows grit onto the PVC mid-roll, unroll that section immediately and wipe it clean before continuing. Once the air is expelled, return the valve pin and cap to the manufacturer-specified transport position. Slip detached fins and their locking keys into their dedicated sleeve or pocket rather than tucking bare fin blades inside a board fold against the skin.
A tight, uniform cylinder on the groundsheet is not automatic proof that internal seams or surface fittings are protected; verify the fold spacing against the board's specific hardware layout. If the completed roll turns out too wide for the backpack, unroll it on the groundsheet, correct the rail alignment, extract any remaining air pockets with the pump set to deflate, and roll it again. Never yank a bag zipper across an oversized roll to force it shut.
Pack the Bag in the Order You Will Unload It
How a travel bag is loaded after one outing determines how smoothly the next launch begins. Tossing damp gear, heavy pump barrels, and three-piece paddles into a single compartment invites puncture damage in transit and forces the paddler to dump everything onto the dirt at the next shoreline just to find a fin screw.
- Load the rolled hull first: Set the board into its primary compartment and secure any internal compression straps snugly without cinching them across rigid fin tracks.
- Position rigid shaft and pump components: Slide protected paddle sections and the hand pump into the bag's designated retaining sleeves or straps, orienting sharp paddle blade tips, clamp levers, and pump gauges or feet so they face away from the PVC board skin.
- Keep setup hardware on top: Stow the fin pouch where a hand can reach it upon opening the main flap without unrolling the board.
- Quarantine wet soft goods: Place damp leashes, neoprene booties, the sand-wiping cloth, and used drying towels inside the separate wet-gear container rather than inside the dry board backpack.
- Maintain safety access: Pack personal flotation devices, whistles, and throw bags needed for launch preparation in an accessible exterior pocket or separate gear tote rather than burying them beneath the heavy hull.
Work with the actual dividers and tie-downs your specific bag provides rather than assuming every backpack offers padded internal sleeves. Before hoisting the pack onto your shoulders or into a trunk, check the load-lifter straps, confirm that no webbing tabs block the zipper track, and verify that external buckles are fastened. Remember that the zipper simply encloses the bag; it is never a mechanical press for compacting poorly rolled gear.
Organizing the load in reverse-deployment order makes missing parts and residual grit obvious before you drive away. Run a quick pre-departure verification for the next launch: confirm the fin and its locking hardware are in the pouch, check that the pump hose is present with its threaded connectors clear of sand, count all paddle sections, and verify that the leash swivels and hook-and-loop cuffs are intact and ready for inspection prior to going afloat.
Reopen a Damp Travel Pack at the Next Stop
Consider a common road-trip scenario: a paddler finishes a morning session at a humid coastal estuary, rinses and towels the board on a shaded groundsheet, and notes that the embossed deck pad and carry handles still feel cool and damp to the touch. Because highway schedule constraints prevent waiting out a slow evaporation cycle, the paddler packs the board into its bag, stows the wet leash and towels in a separate waterproof bin, and ties both down inside the vehicle cargo area so neither shifts during braking or cornering.
All reopening and gear adjustments wait until the vehicle is parked safely at the next suitable stop. Once stopped at a clean, shaded rest area or campsite, the paddler pulls the bag out, unzips the main compartment, and unrolls the board onto the groundsheet to separate the clinging folds so the deck pad, hull, handles, and cargo straps can breathe. At the same time, the wet-accessory container is emptied so the leash, footwear, and towels can spread out in moving air.
The empty travel bag itself gets propped open in the breeze so its interior nylon lining and foam back-panel dry out completely; sliding a newly dried board back into a clammy, damp backpack traps moisture all over again. If the upcoming stop involves launching onto a new body of water, the paddler also completes any local aquatic invasive-species cleaning or mandatory drying intervals before wetting the hull. When an itinerary reaches an overnight lodging stop or returns home at the end of the trip, always unpack a temporary transport load immediately rather than treating the zipped travel bag as finished storage.
Choose a Travel Pack or a Storage-Ready Pack
Closing the zipper completes transport packing, yet it only completes storage preparation if every component inside the bag is bone-dry and free of abrasive grit. Run through this final condition check before lifting the pack into the vehicle or closet.
Before You Close the Bag
- Grit removed from the board, fittings, and bag interior.
- Fin boxes, valve, detached fins, and other hard parts protected from pressure and sharp folds.
- Damp leash, footwear, cloths, and towels packed separately from dry gear.
- Fin hardware, pump hose, paddle sections, and leash accounted for and easy to reach for the next launch.
- Deck pad, handles, strap undersides, recesses, and bag lining checked for remaining moisture.
The physical state of those five checkpoints dictates your next move. A completely dry board resting inside a dry, sand-free bag with protected fittings can be stored safely between outings; a board or bag holding any residual dampness requires a temporary transport plan and a definite time and place to unroll it.
Packdown Condition Rule
Clean first, expose hidden dampness, protect rigid fittings, and pack for the next inspection.
Is your board ready to stay packed, or do you need to choose the next place you will unroll it?