In this Article
- Why Rigidity Is the Hidden Performance Question
- The Drop-Stitch Core: The Structure That Holds the Board Flat
- Air Pressure, Board Thickness, and Volume Work Together
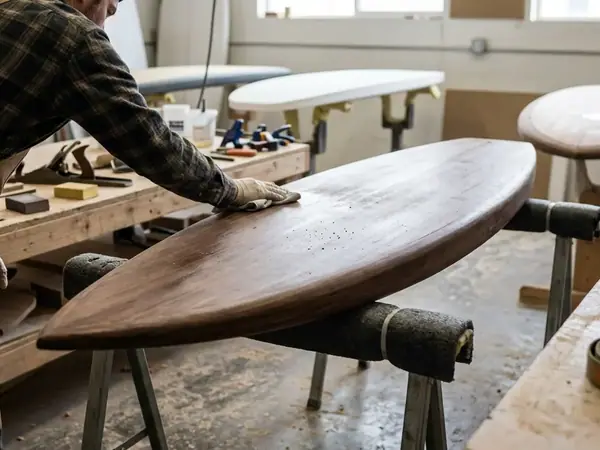
- PVC Skins and Lamination: Where Stiffness Meets Durability
- Rails Are the Board’s Spine, Not Just Its Edge
- How Paddler Weight, Gear, and Cargo Change Flex
- Simple Field Checks Before You Paddle
- Construction Tradeoffs: Stiffness Is Not the Only Goal
- Scope: What Field Checks Can and Cannot Tell You
- Buying and Setup Takeaway
Why Rigidity Is the Hidden Performance Question
The first clue is usually not technical. It is a feeling underfoot.
A board can look properly inflated on the beach, sit firm under your hand, and still form a shallow banana shape once you stand near the carry handle with a loaded deck bag or cooler strapped forward. Add a few small wind waves, and the deck starts to pulse. The nose lifts, the tail drags, and each paddle stroke feels like it is going through a spring before it reaches the water.
That is rigidity in practical terms: how well the board resists flex from paddler weight, paddle-stroke torque, cargo tied to bungees, and repeated slap from small chop.
I treat rigidity as a construction question before I treat it as a dimensions question. Length, width, and advertised PSI matter, but they do not tell the whole story. The board has to hold its shape as a pressurized structure, not just float a stated load.
Critical Insight: A stiff-feeling inflatable SUP is not created by pressure alone. The core, skins, rails, seam quality, and load placement all share the work.
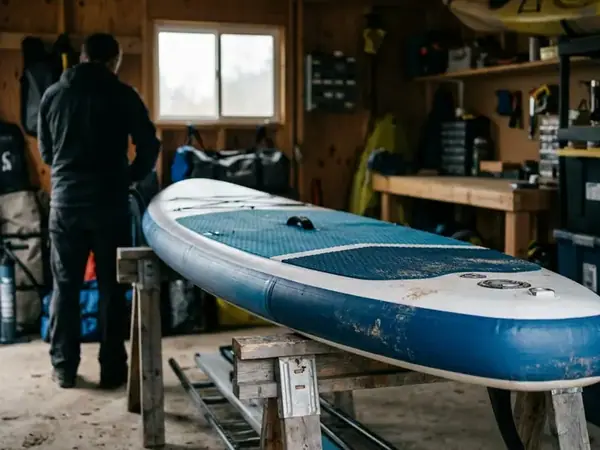
The Drop-Stitch Core: The Structure That Holds the Board Flat
Picture a plain air chamber. Inflate it, and it wants to become round. That shape is natural for pressure, but useless if you need a flat standing platform.
Drop-stitch construction changes the geometry. Thousands of internal threads connect the deck to the hull. As air pressure builds, the deck and hull try to separate, and those threads pull tight. The board becomes a flat slab because the internal tension holds the two faces apart.
Denser, better-controlled drop-stitch spacing generally helps the board keep its shape. The point is not just thread count. It is whether the internal structure restrains bulging evenly from rail to rail and from nose to tail. A poorly controlled core can feel uneven even when the gauge reading looks correct.
The core does not work alone. It needs airtight base fabric, bonded outer skins, rail reinforcement, and correct pressure. If one part of that system is soft or poorly bonded, the internal threads cannot rescue the whole board.
What I look for first
- A flat standing area around the carry handle when the board is inflated.
- No obvious deck-to-hull bulging along the centerline.
- Even tension from the standing zone out toward the rails.
- Construction language that explains the core and reinforcement, not just the marketing adjective attached to it.
Air Pressure, Board Thickness, and Volume Work Together
Does the same PSI mean the same stiffness? No.
Two boards can be inflated to the same gauge reading and behave differently under stroke load. Thickness, width, core quality, rail build, and lamination all change how that pressure becomes structural resistance. A pressure number is useful, but it is not a stiffness certificate.
After inflating, let the board sit for 5 to 10 minutes before the final gauge check, especially when the pump, board, and launch water are at noticeably different temperatures. Air and material temperature affect the final feel. Do not exceed the maximum pressure printed on the board, valve area, manual, or current product documentation.
Thickness works like beam depth. Common inflatable touring and all-around boards, based on available benchmarks, are often sold at roughly 4.75, 5, or 6 inches thick. A deeper board can resist bending better, but the trade is real: it may place the paddler higher above the water and catch more wind.
Volume helps flotation. It does not automatically guarantee a crisp, rigid feel under stroke load. A high-volume board with soft rails or uneven skin tension can still feel delayed when you accelerate or step back.
Risk Factor: A familiar gauge reading can hide a weak setup if the rails are soft, the valve is leaking slowly, or a heavy cooler is strapped directly behind the standing area.
PVC Skins and Lamination: Where Stiffness Meets Durability
Outer skins are often discussed as abrasion armor. That is true, but too narrow. The PVC skin also helps distribute load across the drop-stitch core and protects the airtight chamber from dock rub, beach grit, and careless transport.
Single-layer, reinforced, fused, and multi-layer PVC builds each have a place. I do not rank those labels as a universal ladder because execution matters. A cleanly fused skin with good rail work may feel better over time than a heavy layered build with uneven seams. A reinforced construction can add useful stiffness, but only if the bonding and material tension are consistent.
Read construction claims closely
Look for descriptions that explain whether reinforcement is laminated, fused, or added as separate material layers. Words such as rugged, military-grade, or premium do not tell you how the load path actually works.
During inspection, check for smooth deck-to-hull tension, flat standing areas around the handle, and no raised seam ridges that catch a fingernail along the main bonded edges. You are not trying to perform a peel test at the launch. You are looking for visible signs that the skin is carrying tension cleanly.
Recommendation: Choose the clearest construction description over the loudest material label. Plain detail beats vague toughness language.
Rails Are the Board’s Spine, Not Just Its Edge
Rails connect the deck and hull around the perimeter. That makes them structural members, not decorative sidewalls.
When a paddler loads the standing area, the board bends along its length. When chop hits from the side, the board twists. The rails help resist both movements by tying the top and bottom skins together around the edge. If that perimeter connection is soft, the board can feel vague even when the center panel looks firm.
Reinforced rails, welded seams, or multiple rail bands can improve shape stability when the board is loaded or twisted by chop. The details vary by maker, so the inspection matters more than the phrase on the box.
Set the inflated board on flat ground and sight along the rail. The seam band should run straight from nose to tail without a wavy line, soft bulge, or abrupt change in width. Check both sides, not only the handle side. Transport scuffs and storage creases often show up first on the rail that contacts the ground or roof rack padding.
Rail stiffness also changes handling. A more stable perimeter can improve tracking, sharpen edge response, and make a step-back turn feel less like standing on a folded sleeping pad.
How Paddler Weight, Gear, and Cargo Change Flex
The same inflatable board can feel solid for one paddler and soft for another. That is not a contradiction. It is loading.
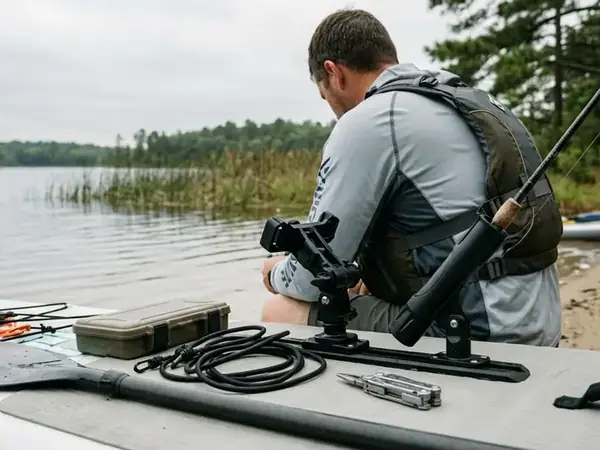
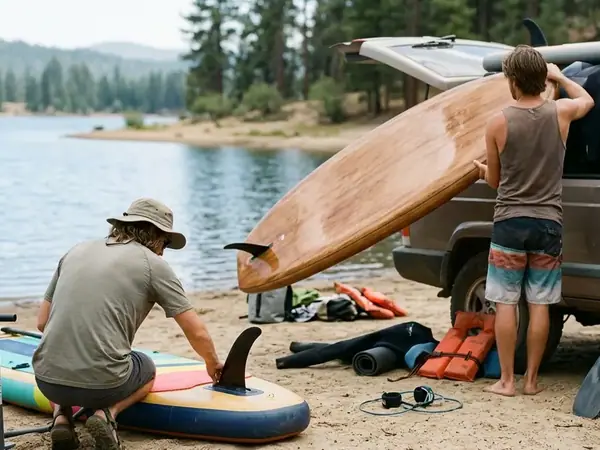
Body weight, stance width, cargo location, water texture, and stroke force all change how the board behaves. A paddler who stands centered with little gear asks less of the structure than an angler carrying a compact cooler, tackle crate, anchor bag, and battery box.
SUP fishing exposes weak flex points quickly because gear becomes a series of concentrated loads. Treat each item as its own load point instead of stacking everything behind the standing area. Dense items should sit low and spread across the deck pad or tie-down zone. Avoid hanging a heavy dry bag from one D-ring where it can pull against a small patch of rail or deck.
Load placement that usually behaves better
- Keep heavy items close to the board’s centerline.
- Separate a tackle crate, cooler, anchor bag, and battery box rather than building one tall stack.
- Use front bungees for low-profile items, not dangling weight.
- Recheck the board’s trim after loading, before you push off.
A board that feels fine empty may reveal its true stiffness only after the real trip load is tied down.
Simple Field Checks Before You Paddle
Field checks should start on land. It is easier to find pressure, seam, and rail problems before the board is floating away from the launch.
Pre-Launch Rigidity Checklist
- Inflate to the manufacturer’s recommended operating range, not just until the board looks full.
- Let the board rest for 5 to 10 minutes, then confirm the pressure with a reliable gauge.
- Close the valve cap and listen briefly for leakage around the valve area.
- Inspect both rails for straight seam lines, soft bulges, transport scuffs, and abrupt changes in rail width.
- Set the board on level ground.
- Stand near the carry handle and watch for sag through the center section.
On water, paddle 6 to 10 normal strokes. Shift your feet slightly wider. Notice whether the deck rebounds immediately or continues to feel springy after each stroke.
Normal flex is brief and controlled. Warning signs are different: a persistent banana shape, rails that compress easily by hand when the board is supposedly full, seam distortion near the tail or nose, or audible air loss at the valve.
Rigidity checks do not replace basic boating judgment. Wear appropriate safety gear and review U.S. Coast Guard life jacket guidance before paddling in exposed or cold water.
Risk Factor: Sudden pressure loss is not a performance issue. It is a launch-stopping problem.
Construction Tradeoffs: Stiffness Is Not the Only Goal
Should you always buy the stiffest-feeling inflatable board you can find? Not necessarily.
Stiffness is a design choice with consequences. Heavier skins, stronger rails, and more reinforcement may improve loaded feel, but they can also make the packed board harder to carry. For travel use, the full packed load matters: board, pump, paddle, fin, leash, repair kit, and wet accessories. That bundle can turn an easy hotel carry into an awkward walk from parking to launch.
For fishing use, I put rail strength, deck layout, and accessory mounting zones ahead of tall crates or hard coolers. A stiff board can still behave poorly if heavy accessories sit high and aft.
Context matters. A 6-inch all-around board may feel reassuring for a loaded angler on flatwater, yet feel taller, more wind-affected, and less nimble for a smaller beginner in breezy coastal conditions.
The better question is not “Which construction is strongest?” It is “Which construction stays controlled under the way I actually load and paddle this board?”
Scope: What Field Checks Can and Cannot Tell You
This guide is a construction and setup framework, not a named-model ranking or calibrated flex-bench comparison.
Field checks can reveal obvious pressure loss, soft rails, poor load placement, seam distortion, and sluggish rebound. They cannot verify a board’s actual stiffness without direct inspection or controlled testing of that specific board in its current condition. That boundary matters, especially with used boards or models that have changed construction over time.
Update your assumptions when a manufacturer changes rail construction, pressure rating, valve hardware, lamination method, or published setup guidance. A board name can stay the same while the structure underneath changes.
Cold-water use adds another layer. Material feel, air pressure behavior, and handling margins can shift when the board moves from a warm car park to cold launch water. Check again, not because the board is fragile, but because pressure structures deserve a second look.
Buying and Setup Takeaway
If you want a rigid inflatable SUP, start with the structure and then check the setup.
Before buying
- Compare the construction description, not only the board category.
- Check the recommended operating pressure and the stated maximum pressure.
- Look at board thickness alongside width, rail design, and core quality.
- Match the board to total paddler-plus-gear use, not just paddler weight.
- For fishing, prioritize rail strength, deck layout, and accessory zones before adding tall storage.
Before paddling
- Inflate with a reliable gauge.
- Recheck pressure after the board has been sitting in sun, shade, or cold water long enough for material temperature to change noticeably.
- Spread dense cargo across the deck instead of concentrating it in one small area.
- Inspect rails and seams every time the board has been stored folded, transported on a rack, or dragged over rough ground.
Critical Insight: The practical hierarchy is simple: core, rails, skins, pressure discipline, and load placement. Miss one, and the board may feel softer than its specifications suggest.